Monday, March 9, 2015

BBQ Chicken Stuffed Sweet Potatoes

You can count the number of ingredients in this meal on one hand! These are my favorite type of meals - delicious, healthy, AND so easy (and inexpensive) to prepare! With ingredients you probably already have on hand, you can make this scrumptious meal that is a new twist on a traditional sweet potato. The flavors may seem strange together at first, but once you taste this I guarantee it will be on your weekly dinner rotation!

BBQ Chicken Stuffed Sweet Potatoes


Ingredients:

2 medium to large sweet potatos
2 large chicken breasts
1 16-18 oz bottle of BBQ sauce* - I always use Stubbs
(make sure to read the label! Watch out for high fructose corn syrup and other hidden ingredients that don't belong in your BBQ sauce).
Your favorite salsa for topping

* This recipe is made to be easy so that is why I used a bottled BBQ sauce, but if you have the time to make your own sauce that is even better! 

Place the chicken breast in your crock pot on high and cover with the bottle of BBQ sauce. (I used about 3/4 of an 18 oz bottle). Cook your chicken for approximately 4 hours (time varies depending on your slow cooker) or until it is falling apart and tender enough to shred.

(Another way to save time is to boil your chicken instead, shred it, and mix it with the BBQ sauce).

While your chicken is cooking, bake your sweet potato in the oven @ 350 degrees for approximately an hour depending on the size of the potato. (To save time you can make them in the microwave).

When your chicken is tender and falling apart, remove it from the crockpot and shred it.


Return the chicken to the crock pot and mix with the BBQ sauce.


Slice your sweet potato open and mash it a tiny bit to make a nice bed for your shredded chicken.


Top your potato bed with a heaping spoonful of the BBQ chicken.


Then top with your favorite salsa! I used Newmans peach salsa this time.


The flavors of the BBQ sauce and the sweet potato are delicious and the salsa just gives it the added boost of flavor that your taste buds will be looking for! Try it - you won't be disappointed!


Monday, March 2, 2015

Skinny Turkey Enchiladas

I made these the night before I went grocery shopping which means I had to whip up some sort of dinner with whatever I had in the house. Surprisingly, these turned out pretty good and my husband went back for seconds!

Skinny Turkey Enchiladas


Ingredients

1 lb lean ground white turkey
1 can refried beans
1 can Rotel
2 Tbsp of my Homemade is Better Taco Seasoning found here
1 jalapeno chopped (omit if you don't want too much heat)
1 small onion, chopped
8 whole wheat tortillas
1 15 oz can enchilada sauce
1 cup of cheddar or Mexican shredded cheese
1/4 red onion, chopped (for topping)
green onions, chopped (for topping)


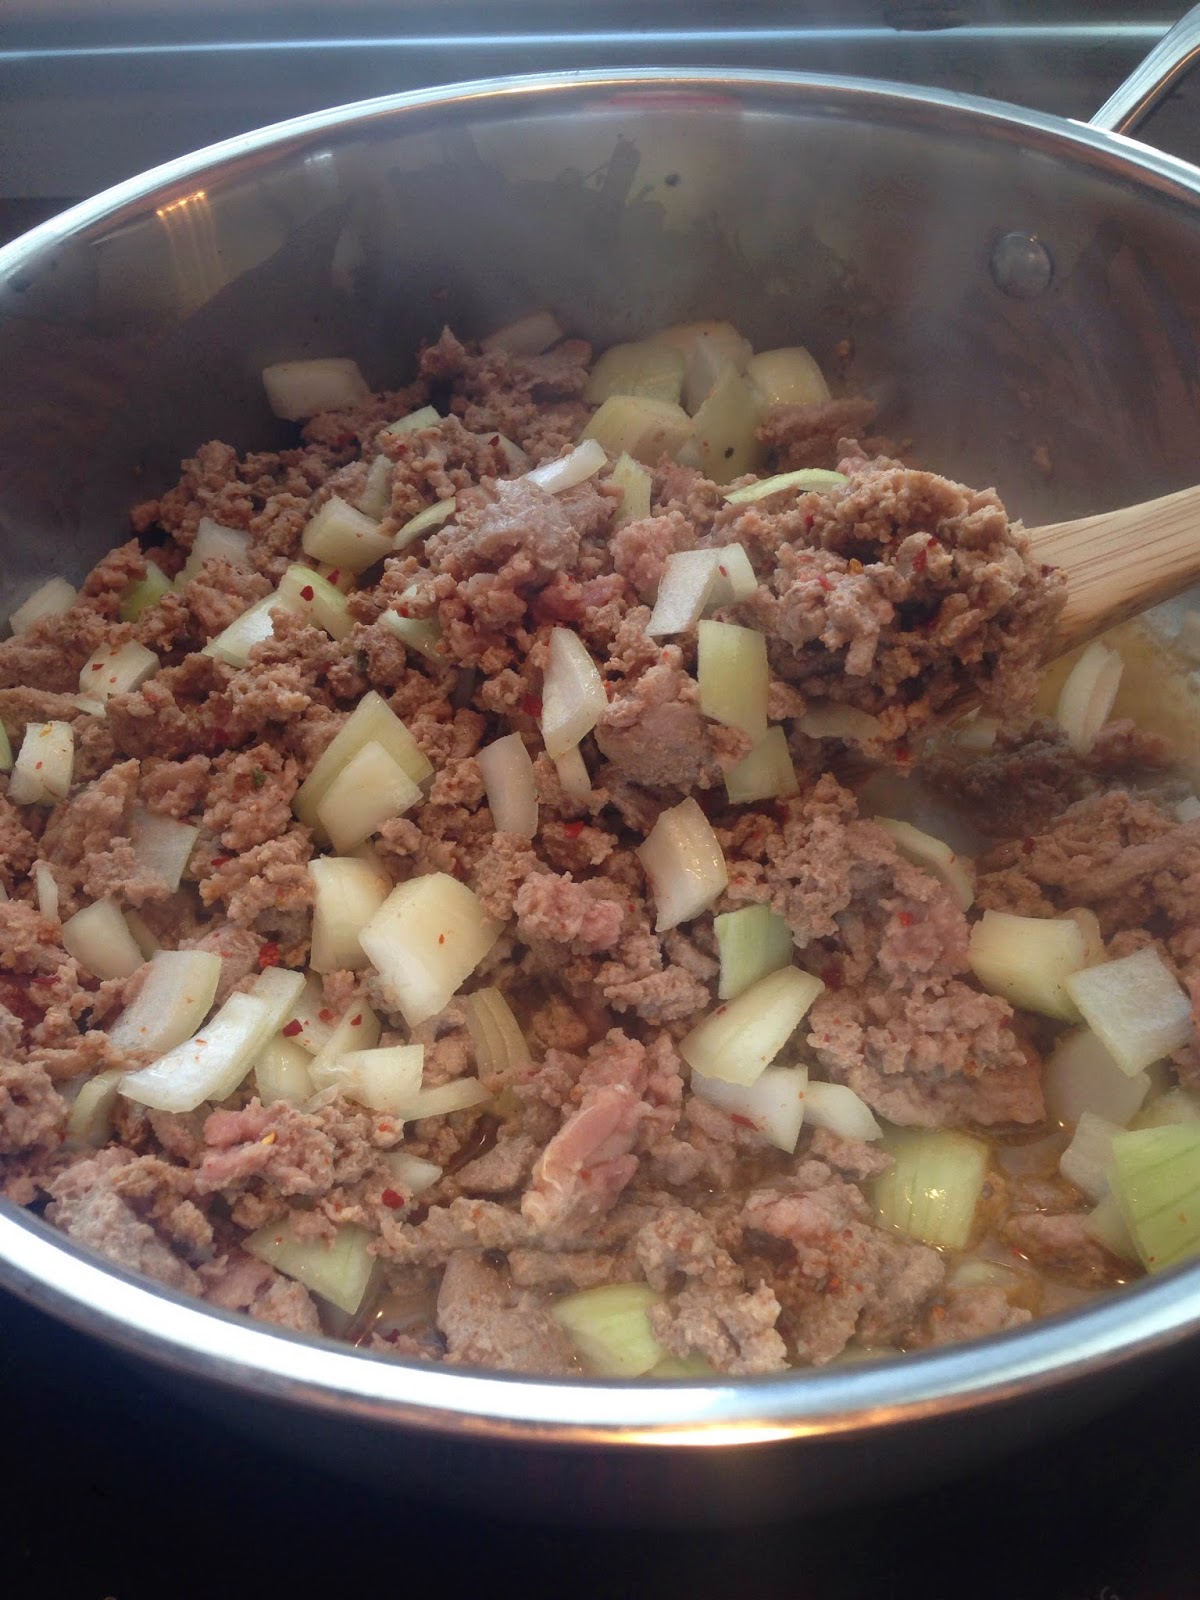
Start by preheating your oven to 350 degrees. Brown your turkey in a large skillet and add onion and jalapeno when your turkey is almost cooked thoroughly.


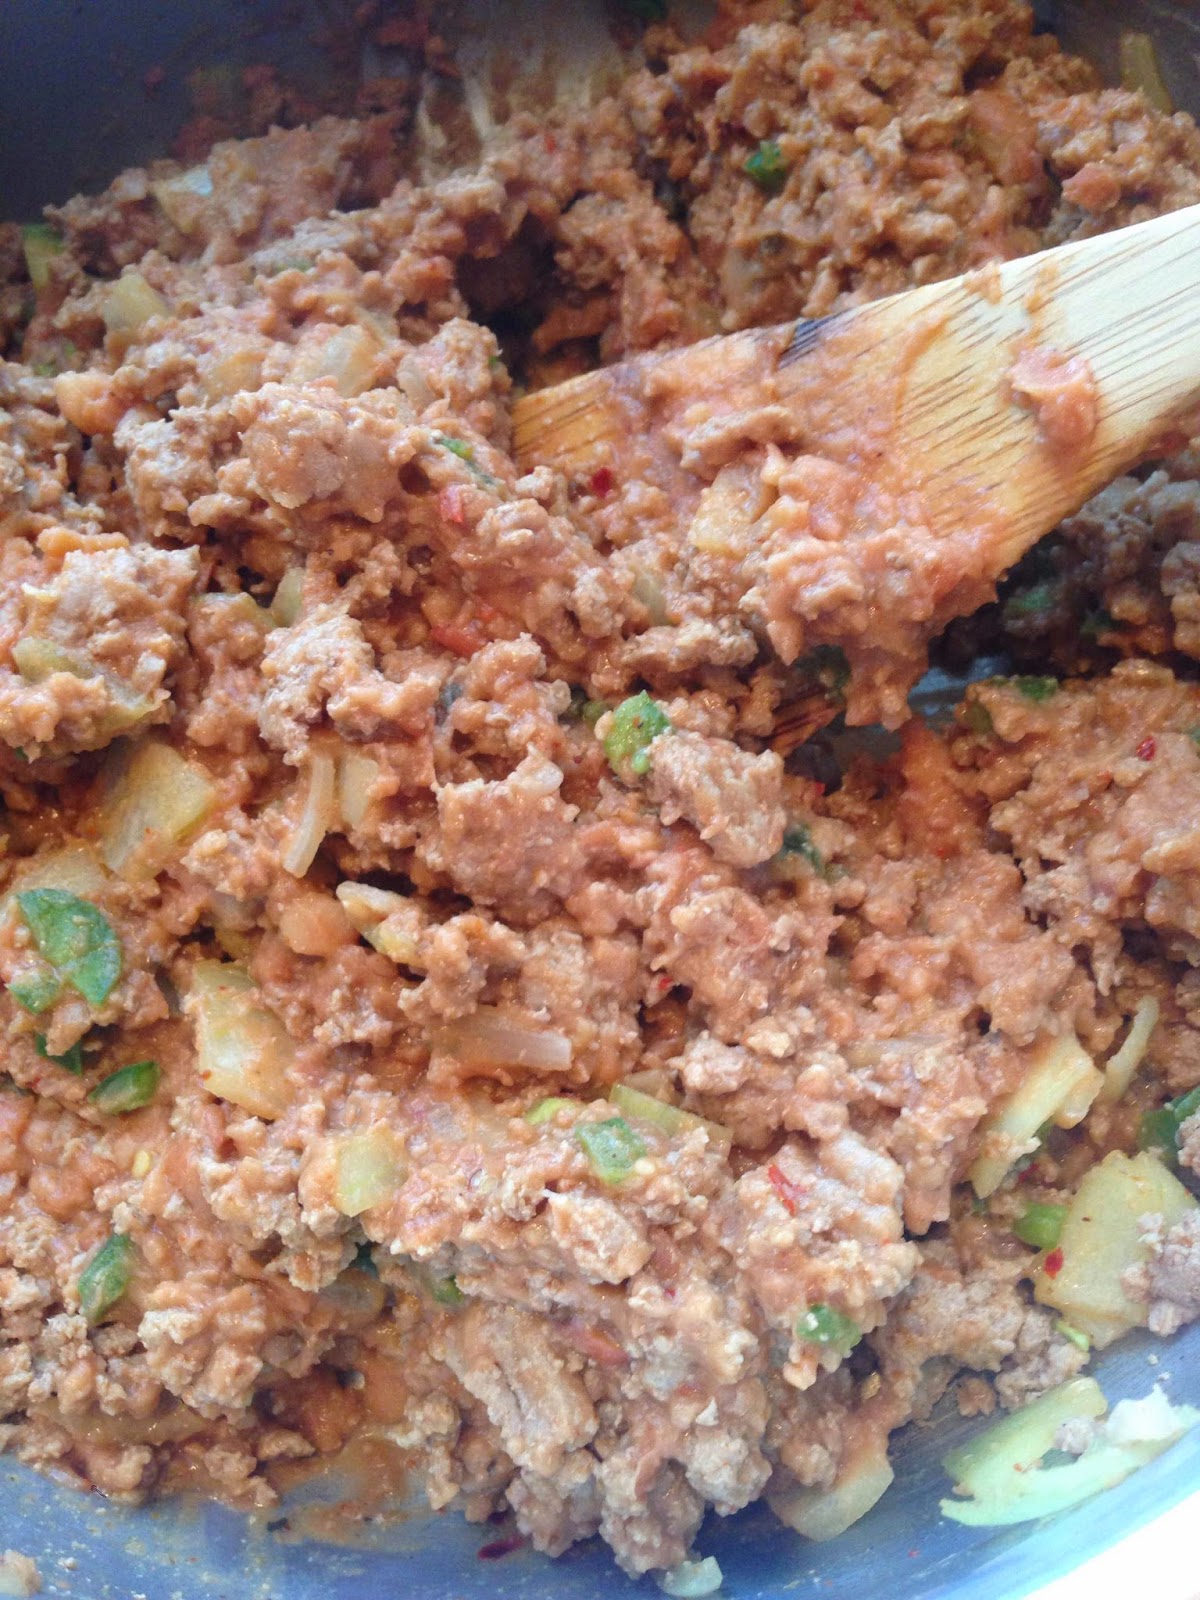
When your turkey is no longer pink, drain and return to pan. Reduce your heat to low and add in the refried beans and mix well.


When your beans are mixed thoroughly add the can of Rotel and mix well.


Pour 1/3 of the can of Enchilada sauce on the bottom of a greased 9x13 baking dish. Spoon the turkey mixture evenly into each tortilla, roll up, and place seam side down into the baking dish. Pour the remaining Enchilada sauce over the tortillas and top with shredded cheese & diced red onion.


Cover with foil and bake for 25 minutes.

When they are done, uncover the dish and turn the oven up to broil. Watch them closely so they don't burn and cook for another 5 minutes until the cheese is starting to bubble.

Remove from the oven and top with some chopped green onions for some color!


Homemade is Better Taco Seasoning

Obviously it's much more convenient to pick up a little packet of taco seasoning at the store. It saves you time and since it's usually under a $1 it doesn't break the bank....BUT.....it's not the healthiest option. Making your own with spices you probably already have in your pantry is the way to go! Here is a quick and easy taco seasoning that I made and have been using in all my Mexican dishes.

Homemade is Better Taco Seasoning


Ingredients

1 Tbsp chili powder
1 tsp cumin
1 tsp garlic powder
1 tsp paprika
1 tsp onion powder
1 tsp red pepper flakes (optional)
1/2 tsp oregano
1/4 tsp sea salt
1/4 tsp cracked pepper

Mix all ingredients together.


Store in an air tight container in your pantry (for up until 6 months).


Sauteed Green Beans & Onions with Bacon

Bacon sure does make everything better! This quick and easy side dish will add a little excitement to any meal. I used ingredients that I had on hand and within a few minutes I had a dish that tasted like I spent a lot more time than I did creating it!

Sauteed Green Beans & Onions with Bacon


Ingredients:

1 pound fresh green beans, washed & trimmed
8 slices of turkey bacon (or the real deal if you don't mind the added calories)
1/2 red onion, chopped
Olive Oil
Salt & Pepper to taste
1/2 tsp minced garlic

Start by steaming your green beans for about 5-7 minutes


Chop your bacon - I'm not gonna lie, I added a little extra because my hubby is a HUGE bacon fan!


Saute your bacon in a little olive oil until its crispy (turkey bacon doesn't get as crispy as pork, so saute it until it's the way you like it.)


Remove the bacon from the pan and set aside. Add the onion & garlic to the same pan and saute with a little olive oil until the onions are transparent - about 3-4 minutes.


Then add your steamed green beans and bacon and mix all together. Saute for 2-3 minutes on medium low heat and blend all the flavors together. Season with sea salt & cracked pepper.


And that's it! You are ready to serve this tasty little dish to your family. I paired mine with some chicken and a salad, but this scrumptious little bean dish will go with just about anything!


Friday, February 27, 2015

Italian Stuffed Zucchini Boats

I'm a big fan of stuffing vegetables these days and this recipe is no exception. Using veggies instead of tortillas or tacos are a great way to save on calories while getting in some extra vitamins from the vegetables. This particular recipe makes enough filling for more than 3 zucchini, but I saved the leftover mixture for another meal!

Italian Stuffed Zucchini Boats


Ingredients:

3 medium zucchini
1 medium onion, diced
2 Italian peppers, diced (or 1 green bell pepper)
1 28 oz can of crushed tomatoes, reserving 3/4 cup
1 tsp of minced garlic
1 lb of grass fed beef or you can substitute ground turkey
Salt & Pepper to taste
1 cup shredded Mozzarella cheese
1 tbsp Italian seasoning


Dice your onion & peppers, and brown your ground beef & garlic in a large pan.


When your beef in almost done, add in the diced veggies.


Mix well and continue to cook until the ground beef is no longer pink.

Next add in the can of crushed tomatoes (remember to reserve 3/4 cup), Italian seasoning, & sea salt, and cracked pepper to taste.


Let your mixture simmer on low while you cut your zucchini lengthwise and scoop out the inside, leaving a thin layer in the shell so they will stand up.

Pour the reserved crushed tomatoes into the bottom of a 9x13 baking dish and spread to fill the dish.


Next fill your zucchini with the beef mixture, be generous with your filling!


Next, cover the zucchini boats with the shredded cheese.


 Bake them at 350 degrees for about 25 minutes. Then broil them for about 5 minutes until the cheese is brown and bubbling. (All ovens are different so make sure to watch them on broil - they get brown very quickly!)


I sprinkled a pinch of shredded Parmesan and parsley on mine afterwards, but that is optional. These go great with a side salad.


P.S. I saved my leftover mixture and added a can of drained & rinsed kidney beans and gave it to my husband for lunch the next day as chili!


You can also toss it with some pasta or spaghetti squash too.


Individual Spaghetti Squash Casseroles

I had a lonely spaghetti squash sitting in my pantry & two grumpy kids who were not in the mood to go food shopping, so I had to use ingredients I had on hand and this recipe came out better than I had expected! Originally I had thought these were going to be side dishes, but one mini casserole filled me up! My husband, on the other hand, also had two pieces of chicken and some peas on the side. He's the exception though, I'm pretty confident that one of these casseroles and a garden salad on the side would make the perfect meal!

Individual Spaghetti Squash Casseroles


Ingredients:

1 medium to large spaghetti squash
1 can diced tomatoes, drained
1/4 cup shredded Parmesan cheese
1 tsp olive oil
1 tbsp dried basil (use fresh if you have it)
Salt & Pepper to taste
1/4 cup grated Parmesan cheese
1/2 cup Italian Panko breadcrumbs

There are a few different ways to cook a spaghetti squash. I've tried face up & face down and I cook them differently depending on which recipe I'm making. For this recipe I find it easiest to cut your squash lengthwise, scoop out the insides, and place skin side up on a foil lined & sprayed baking sheet. Cook @ 400 degrees for about 50 minutes. Once you take them out of the oven the skin should feel squishy. Wait about 10-15 minutes and then turn them over. Using a pot holder to hold the squash in your hand, scrape out the spaghetti like strands of squash into a bowl. 


Add olive oil, basil, sea salt, & cracked pepper to taste.


Next add in the can of drained tomatoes.


Add in the shredded Parmesan cheese.


If you don't have individual casserole dishes then you can put the mixture into a greased 8X8 baking dish. I recently received my new mini casserole dishes for my birthday so I was looking for an excuse to use them! Make sure to grease your dish before dividing the squash mixture.


In a bowl, combine the Panko breadcrumbs and grated Parmesan cheese then top each casserole with half the mixture.


You can bake right away or put them in the fridge for later! When you are ready to bake, preheat your oven to 350 degrees and bake your casserole for 25-30 minutes.

I bet these little dishes could fool your significant other into thinking he or she is eating pasta! 


Thursday, February 12, 2015

Spaghetti (Squash) & Meatballs

I love substituting pasta with spaghetti squash. I know there are some days when I am going to crave some pasta carbs and on those days squash is not going to cut it, but tonight is not one of those nights. Even my husband didn't complain when I handed him a plate filled with squash....but that's because I covered it in this delicious sauce and gave him plenty of meatballs to make him forget all about the little squash strands on the bottom of his plate.


Spaghetti (Squash) & Meatballs


To make the meatballs check out my recipe for Game Day Meatballs here.

Ingredients:

1 large spaghetti squash
1 28 oz can of crushed tomatoes
1 15 oz can of diced tomatoes
1 tsp minced garlic
1 small onion, diced
1 green pepper, diced
1 tbsp Italian seasoning
1 tbsp Olive Oil
Dash of sea salt
Dash of pepper

Preheat your oven to 400 degrees and cut your spaghetti squash in half lengthwise. Spoon out the seeds (like you would do to a pumpkin) and place face up on a baking sheet. Brush on the olive oil and sprinkle with a dash of sea salt and cracked pepper. Bake the squash for 40 minutes.


Meanwhile pour your crushed tomatoes & diced tomatoes into a pot (or crockpot) and turn it on low. Saute your onion & garlic for approximately 3 minutes and add to the pot.


Next saute the diced pepper for about 5 minutes and add to the pot.


Add the Italian seasoning to the sauce and mix well.


When the squash is cool enough to handle, scrape out the spaghetti like strands with a fork.


Place the spaghetti squash strands on a plate and top with the sauce & meatballs for a healthy and delicious version of a classic dish! You can top with a sprinkle of mozzarella cheese and some green onions for color.